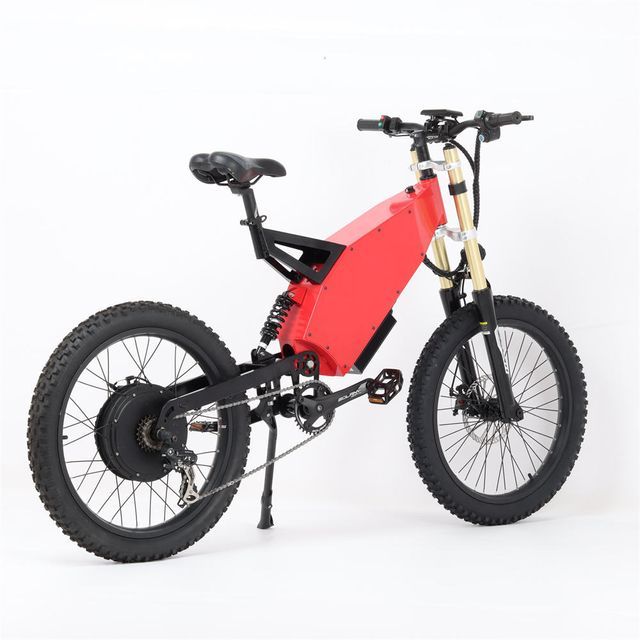
As electric vehicles become more popular, converting traditional motorcycles to electric power is gaining significant traction. This process, known as electric motorcycle conversion, offers many advantages, such as reduced emissions, quieter operation, and lower maintenance costs. However, the conversion process involves several technical steps and considerations. Whether you’re an eco-conscious rider or a DIY enthusiast, learning how to convert your motorcycle to electric can be both rewarding and fascinating. Keep reading to discover a comprehensive guide on performing an electric motorcycle conversion, covering all essential aspects from initial planning to final implementation.
Choosing the Right Motorcycle for Conversion
The first step in converting a traditional motorcycle to electric is selecting the suitable motorcycle for the conversion.
- Motorcycle Type: Aim for a mid-sized motorcycle between 250cc and 500cc. Smaller bikes may lack the necessary space and structure for the components, while larger motorcycles can require more powerful and expensive parts.
- Condition: Choose a motorcycle in good mechanical condition, ideally with a working frame, suspension, and brakes. An older bike might already have some wear and tear that could complicate the conversion process.
- Weight Considerations: Consider the weight of the motorcycle and how much additional weight the electric drivetrain will add. Lightweight motorcycles are generally better candidates as they will compensate for the added weight of batteries and electric motors.
- Budget: Keep your budget in mind. While some motorcycles might be cheaper initially, the cost of conversion components and unexpected repairs can add up quickly.
Selecting the right motorcycle sets a solid foundation for the success of your conversion project.
Gathering Required Components
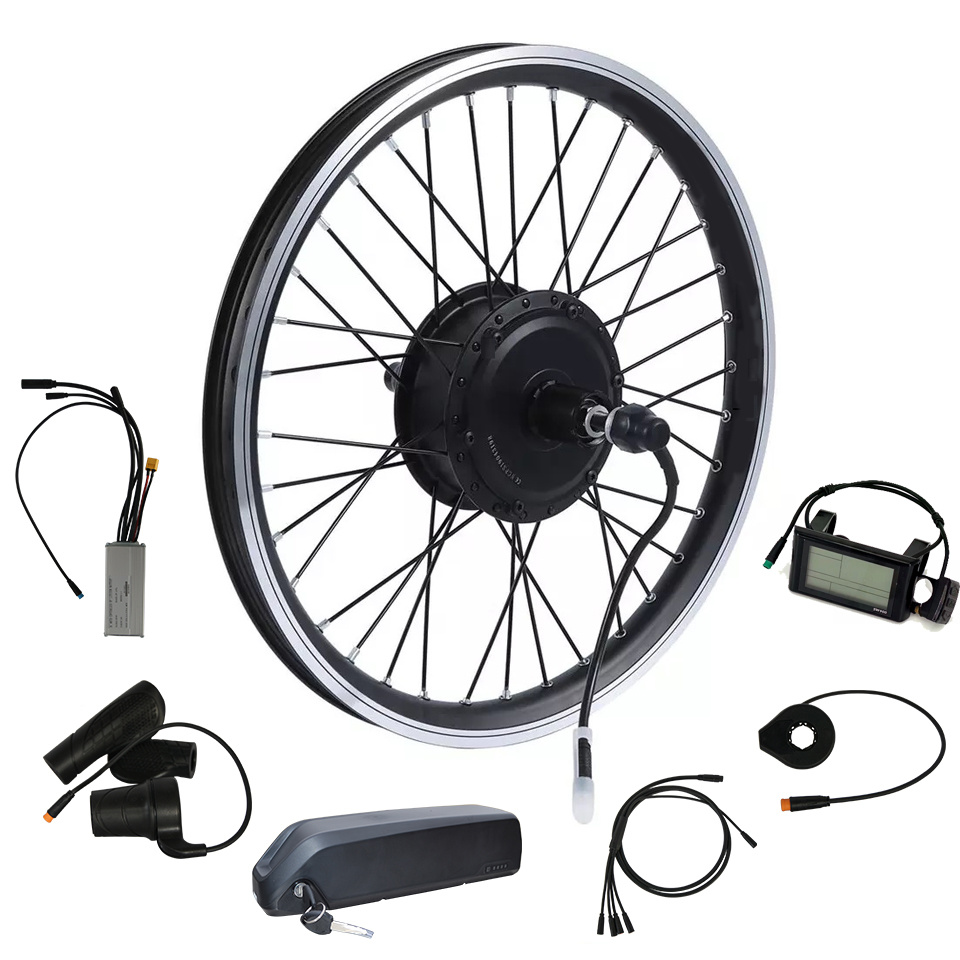
Once you have your motorcycle, gathering the necessary components for the electric conversion is the next step. These include the electric motor, battery pack, motor controller, and other essential parts.
- Electric Motor: Choose an electric motor compatible with your motorcycle’s size and intended use. Popular choices include brushless DC (BLDC) motors for their efficiency and longevity. The motor’s power rating (in kW) should match your performance expectations.
- Battery Pack: Lithium-ion batteries are commonly used due to their high energy density and long lifespan. Calculate the required battery capacity in Watt-hours (Wh) based on your desired range and motor consumption.
- Motor Controller: The controller is the brain of your electric system, regulating the power flow from the battery to the motor. Ensure the controller is compatible with both your motor and battery pack specifications.
- Charger and Charging Port: Invest in a high-quality charger that matches your battery pack’s requirements. An accessible charging port installation is essential for convenient recharging.
- Throttle and Interface: Upgrading the throttle to an electronic one is necessary. The throttle should be compatible with the motor controller. Consider adding an interface for real-time monitoring of battery status and usage.
- Mounting Hardware: Secure mounting hardware is essential for attaching components to the motorcycle frame. Custom brackets and mounts may be necessary.
Gathering high-quality and compatible components ensures the efficiency and reliability of your electric motorcycle conversion.
Planning and Design
A detailed plan and design are crucial for a successful conversion. This involves mapping out the placement of components and ensuring everything fits properly.
- Blueprint: Create a detailed blueprint or schematic of your motorcycle with the planned placements for the motor, battery pack, controller, and other components.
- Weight Distribution: Consider the weight distribution of the motorcycle after conversion. Optimal placement of the battery pack and motor can affect handling and stability.
- Space Management: Ensure that all components fit within the motorcycle’s frame. Take accurate measurements and consider custom modifications if necessary.
- Safety Features: Plan for safety features such as fuses, circuit breakers, and emergency cut-off switches. These are essential for protecting both the rider and the electric system.
- Wiring Plan: Develop a wiring plan detailing how all electrical components will be connected. This should include power delivery, controls, and monitoring systems.
Having a comprehensive plan and design helps avoid complications and ensures a smoother conversion process.
Disassembling the Motorcycle
Disassembling the motorcycle involves removing the internal combustion engine and any components that will no longer be needed.
- Preparation: Safety first – make sure the motorcycle is secure on a stand and that you have all necessary tools and protective gear.
- Engine Removal: Begin by draining all fluids (oil, fuel, coolant) from the motorcycle. Disconnect the fuel lines, exhaust system, and other related components before unbolting and removing the engine.
- Additional Removal: Remove the fuel tank, air filters, and any other components related to the internal combustion system that won’t be needed for the electric setup.
- Inspection: Inspect the remaining frame and components for any damage or wear. Make necessary repairs before proceeding with mounting the electric components.
Properly disassembling the motorcycle prepares the frame for the installation of electric parts and helps identify any underlying issues.
Installing the Electric Motor
Installing the electric motor is one of the most critical steps in the conversion process. Ensuring proper alignment and secure mounting is crucial.
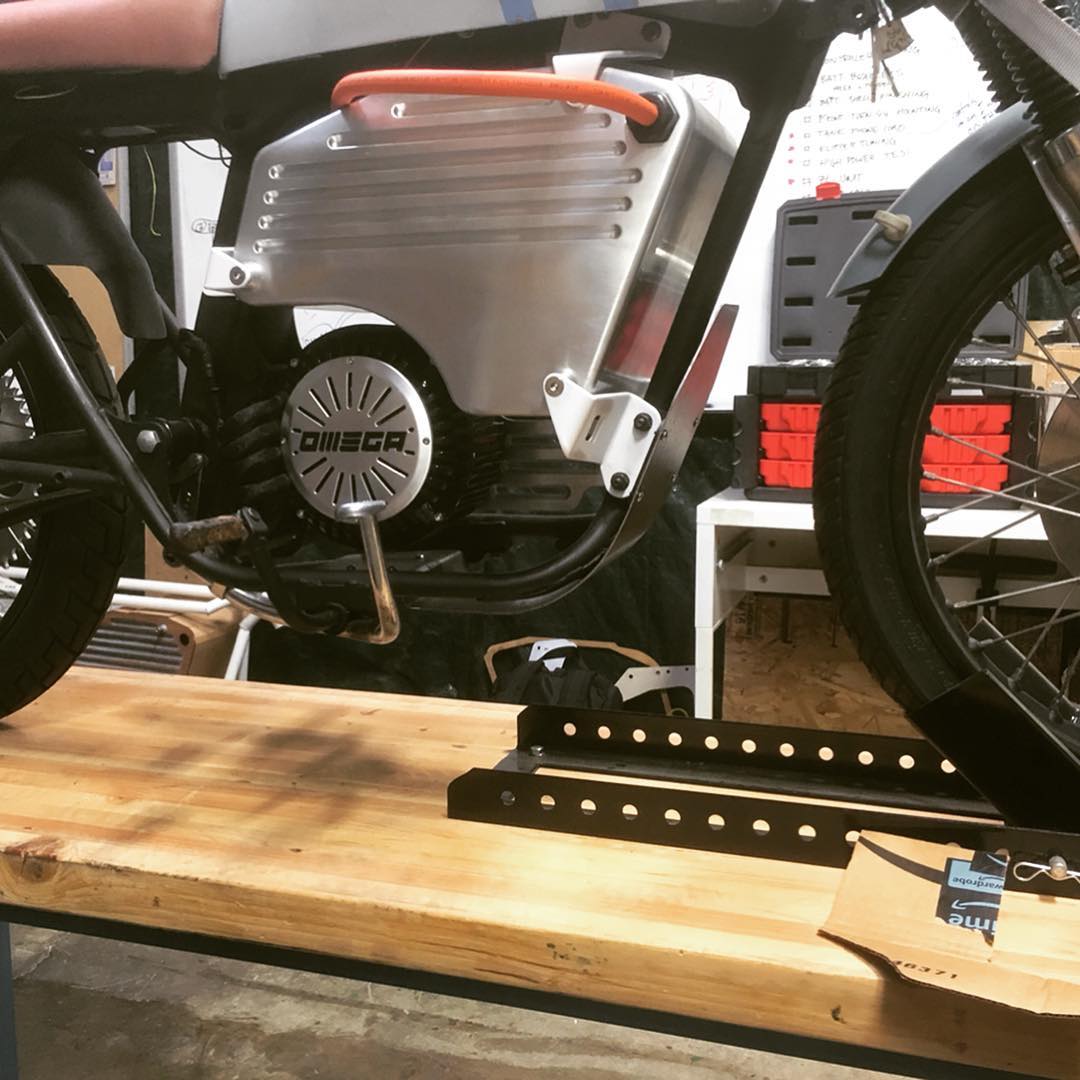
- Motor Mounting Bracket: If a custom mounting bracket is required, fabricate one that fits both the motor and the motorcycle frame. The bracket should be sturdy enough to handle the motor’s torque.
- Motor Installation: Position the motor in the allocated space and secure it using the mounting brackets and hardware. Ensure the motor is well-aligned with the drivetrain components.
- Chain or Belt Drive: Connect the motor to the rear wheel via a chain or belt drive. Make sure the tension and alignment are correct to prevent slippage and ensure efficient power transfer.
- Testing Fit: Once mounted, double-check that the motor and associated components do not interfere with other parts and that there is adequate clearance for movement and adjustments.
Following these steps carefully ensures that the electric motor is effectively integrated into the motorcycle’s drivetrain.
Installing the Battery Pack
Installing the battery pack involves securing it in a location that maintains the motorcycle’s balance and accessibility.
- Battery Enclosure: Create or purchase a sturdy, heat-resistant enclosure for the batteries. This enclosure should protect the batteries from environmental factors and potential impacts.
- Mounting the Battery Pack: Position the battery pack according to the weight distribution plan. It’s often placed where the fuel tank used to be or within the motorcycle frame beneath the seat.
- Secure Fastening: Use brackets, straps, and bolts to safely secure the battery pack to the frame. Ensure it’s immobile during the ride to avoid shifting that could cause damage.
- Thermal Management: Consider implementing a cooling system if your battery pack generates a lot of heat. This could include fans or passive heat sinks.
Correctly installing the battery pack is crucial for safety, performance, and ease of charging.
 Wiring the Electrical Components
Wiring the electrical components is a detailed task that requires precision and care.
- Main Power Connections: Connect the battery pack to the motor controller using appropriately gauged wires. Properly crimp and insulate all connections to prevent shorts.
- Controller Wiring: Wire the motor controller to the electric motor and the throttle. Follow the manufacturer’s wiring diagram and double-check all connections.
- Safety Devices: Install fuses, circuit breakers, and an emergency cut-off switch in the main power line. These devices protect the electrical system from overloads and allow for quick shutdowns in emergencies.
- Auxiliary Components: Connect auxiliary components like lights, horn, and display interfaces. Ensure these are wired into the correct circuits and that they do not draw excessive power.
- Testing: Once all wiring is complete, conduct an initial test without powering on the bike. Verify all connections are secure and correct. Then, gently power on and test the individual components for functionality.
Legal Considerations and Registration
Converting to an electric motorcycle often involves legal considerations, including registration and compliance with local laws.
- DMV Requirements: Contact your local Department of Motor Vehicles (DMV) to understand the registration requirements for an electric motorcycle. This might include passing an inspection or meeting certain safety standards.
- Insurance: Notify your insurance company of the conversion. Some insurers may offer policies specifically for electric vehicles that could save you money compared to conventional motorcycle insurance.
- Emissions and Safety Compliance: Ensure that your converted motorcycle complies with emissions and safety standards. While electric vehicles typically have fewer emissions requirements, they still must meet safety regulations.
- Documentation: Keep detailed documentation of all modifications and parts used. This can be helpful when dealing with the DMV, insurance companies, and in case of resale.
Following legal procedures and maintaining the required documentation ensures your converted motorcycle is street-legal and properly insured.
Maintenance and Upkeep
Proper maintenance is crucial for the longevity and performance of your electric motorcycle. Regular checks and care can prevent costly repairs down the line.
- Battery Maintenance: Regularly check the battery pack for signs of wear or damage. Follow the manufacturer’s guidelines for charging and storage to ensure maximum battery life.
- Electrical System: Periodically inspect all connections, wires, and components for wear or corrosion. Address any signs of damage immediately to prevent failures.
- Mechanical Components: Standard motorcycle components such as brakes, suspension, and tires still require regular maintenance. Follow the manufacturer’s maintenance schedule for these parts.
- Software Updates: Some electric motor controllers and battery management systems (BMS) might receive firmware updates. Check if your system supports this and keep it updated.
Proper maintenance and regular checks ensure your electric motorcycle remains reliable and performs well over time.
Conclusion
Understanding how to perform an electric motorcycle conversion can be both a practical and rewarding endeavor. From selecting the right motorcycle and gathering essential components to the detailed steps of installation, wiring, and testing, every phase is crucial for a successful conversion. Additionally, considering legal aspects, performing regular maintenance, and appreciating the environmental and financial benefits further enrich the process. By following this comprehensive guide, you can confidently transform a traditional motorcycle into a reliable, eco-friendly electric vehicle. Happy converting!


