Introduction: Maintaining a Healthy Motorcycle Battery
A motorcycle battery is a crucial component that powers the electrical systems of your bike. Over time, the battery’s charge can deplete, especially during periods of inactivity or during colder months. To ensure your motorcycle starts reliably and functions properly, it’s essential to know how to effectively charge your battery. In this comprehensive guide, we will walk you through the process of charging your motorcycle battery. From preparing the battery and choosing a charger to connecting the charger and monitoring the charging process, you’ll gain the knowledge needed to maintain a healthy and fully charged motorcycle battery.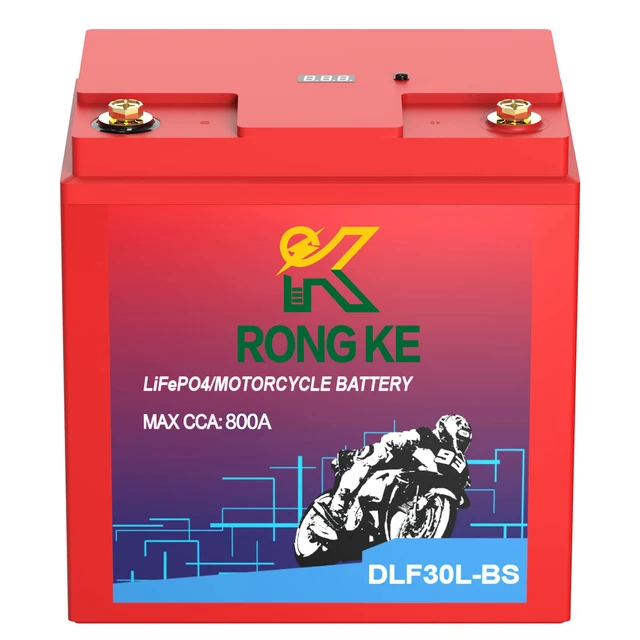
Charging Your Motorcycle Battery: A Step-by-Step Guide
-
Battery Preparation: Ensuring Safety and Accessibility
a. Safety precautions: Before handling your motorcycle battery, ensure you are wearing appropriate safety gear, including gloves and goggles. Additionally, make sure the area where you are working is well-ventilated to avoid breathing in any potentially harmful fumes.
b. Battery accessibility: Locate the battery compartment on your motorcycle. Depending on the make and model, the battery may be under the seat, behind a side cover, or in another designated area. Familiarize yourself with the battery’s location and ensure you have easy access to it.
-
Choosing a Battery Charger: Selecting the Right Tool
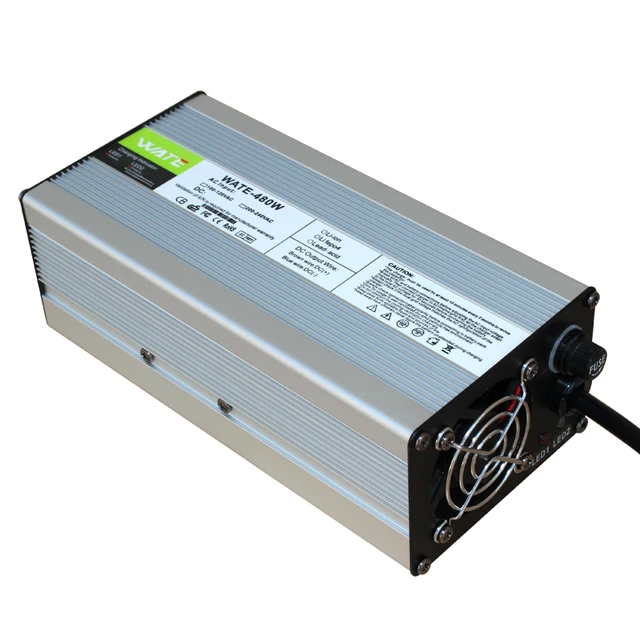
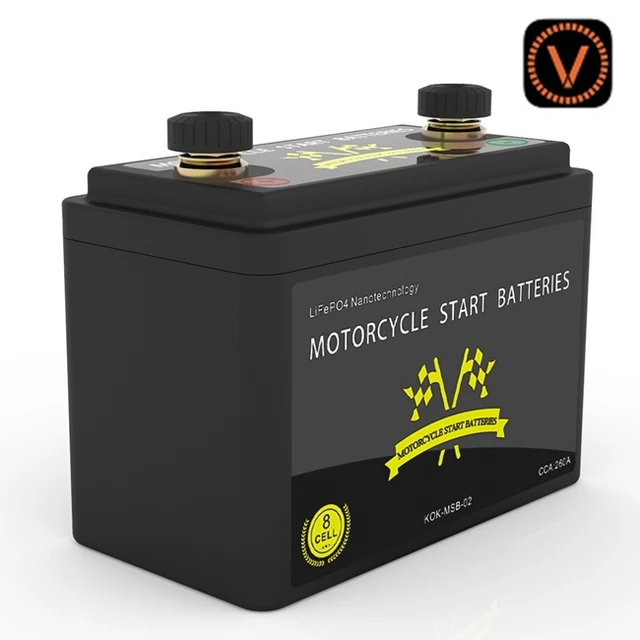
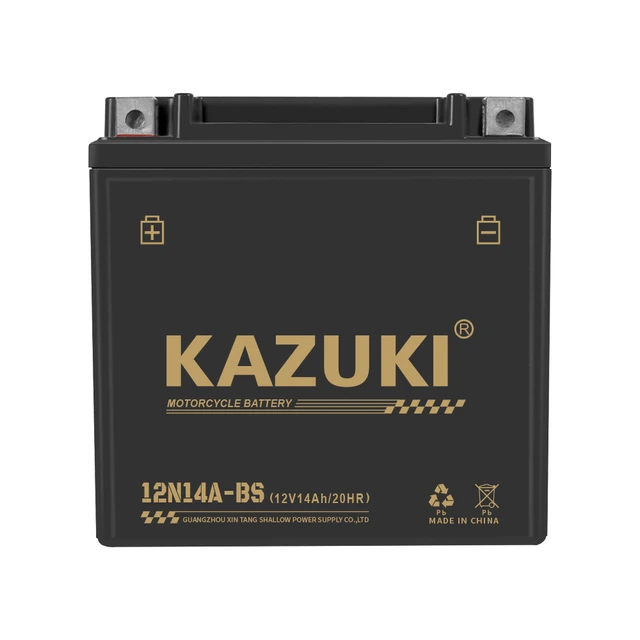
a. Charger compatibility: Choose a battery charger that is compatible with your motorcycle battery’s voltage and chemistry. Most motorcycles use a 12-volt battery, so ensure the charger you select is designed for this voltage. Additionally, consider whether your battery is a standard lead-acid battery or a maintenance-free AGM (Absorbent Glass Mat) battery, as some chargers may be specific to certain battery chemistries.
b. Charger features: Look for a charger with safety features such as overcharge protection and a built-in microprocessor that can detect and adapt to the battery’s charging needs. Chargers with multiple charging modes, such as trickle charging or maintenance mode, are also advantageous for long-term battery maintenance.
c. Ampere rating: Consider the ampere rating of the charger. While higher ampere ratings may charge the battery faster, it’s essential to select a charger that falls within the manufacturer’s recommendations to prevent damage to the battery.
-
Connecting the Charger: Making Proper Connections
a. Power off the motorcycle: Start by turning off the motorcycle and removing the key from the ignition. This ensures the bike’s electrical systems are not using any power and allows you to safely connect the charger.
b. Battery disconnection: Depending on your motorcycle, you may need to disconnect the battery before charging. Refer to the owner’s manual for specific instructions on how to safely disconnect the battery cables. In some cases, a wrench or screwdriver may be needed to loosen or remove the battery terminals.
c. Charger cable connection: Connect the charger cables to the appropriate battery terminals. Red typically represents the positive terminal (+), while black represents the negative terminal (-). Ensure the charger cable clamps or connectors make secure and tight connections. Double-check that the polarity is correct to avoid damaging the battery or the charger.
-
Charging Process: Monitoring and Maintaining
a. Charger settings: Set the charger to the appropriate charging mode based on the charger’s instructions and the manufacturer’s recommendations for your battery. Ensure the charger is plugged into a standard electrical outlet and turned on.
b. Charge duration: The duration of the charging process depends on the battery’s current state of charge and the charger’s ampere rating. Follow the manufacturer’s instructions for estimated charge times. Avoid overcharging the battery, as it can lead to damage. It’s recommended to periodically check the battery’s voltage during the charging process using a multimeter, if available, to monitor progress.
c. Maintaining charge: If your charger has a maintenance mode or trickle charging feature, consider using it to maintain the battery’s charge when not in use for extended periods. This feature helps prevent self-discharge and ensures the battery remains in optimal condition.
-
Disconnecting and Reinstalling: Ensuring Proper Reconnection
a. Charger disconnection: Once the battery is fully charged, switch off the charger and unplug it from the electrical outlet. Disconnect the charger cables from the battery terminals, starting with the negative (black) terminal, then the positive (red) terminal. Double-check that the clamps or connectors are secure and free from any corrosion or debris.
b. Battery reconnection: If you had to disconnect the battery earlier, now is the time to reattach it following the manufacturer’s instructions. Ensure the positive and negative battery terminals are correctly aligned, and secure the battery cables in place. Tighten any bolts or screws as necessary, but be careful not to overtighten.
c. Functionality check: Turn on the motorcycle and check that all electrical systems, such as lights and the instrument cluster, are functioning properly. Take a short ride to verify that the battery is supplying power as expected. If the battery was disconnected from the motorcycle’s computer system, you may need to reset certain settings or perform a system check, as specified in the owner’s manual.
-
Best Practices for Battery Maintenance
a. Regular charging: It’s important to regularly charge your motorcycle battery, even if you use your bike infrequently. A monthly charging session can help prevent the battery from fully discharging and potentially becoming damaged. Set a reminder or schedule regular charging intervals to ensure the battery remains in good condition.
b. Avoid deep discharges: Deeply discharging a motorcycle battery can significantly reduce its lifespan. Try to avoid situations where the battery is completely drained. If necessary, use a battery tender or maintainer to keep the battery charged when the bike is not in use for an extended period.
c. Cleaning and inspection: Periodically inspect the battery for any signs of corrosion, loose connections, or physical damage. Clean the battery terminals using a mixture of baking soda and water, gently scrubbing away any built-up residue. Rinse with clean water and dry thoroughly before reconnecting the battery.
d. Battery storage: During the winter months or extended periods of inactivity, consider removing the battery from the motorcycle and storing it in a cool and dry location. Make sure it is fully charged before storage and periodically recharge it to prevent self-discharge. Follow the manufacturer’s instructions for specific storage recommendations.
Conclusion: Keeping Your Motorcycle Battery Charged and Ready
By following a systematic approach to charging your motorcycle battery, you can ensure a reliable power source for your rides. Proper battery preparation, choosing the right charger, making secure connections, and monitoring the charging process will help maintain a healthy battery and extend its lifespan.
Remember to prioritize safety throughout the charging process by wearing appropriate gear and working in a well-ventilated area. Take the time to familiarize yourself with your motorcycle’s battery location and the owner’s manual for specific instructions and recommendations.
With the knowledge and understanding gained from this guide, you’ll be able to confidently charge your motorcycle battery and enjoy worry-free rides, knowing that your battery is fully charged and ready to power your adventures.

